

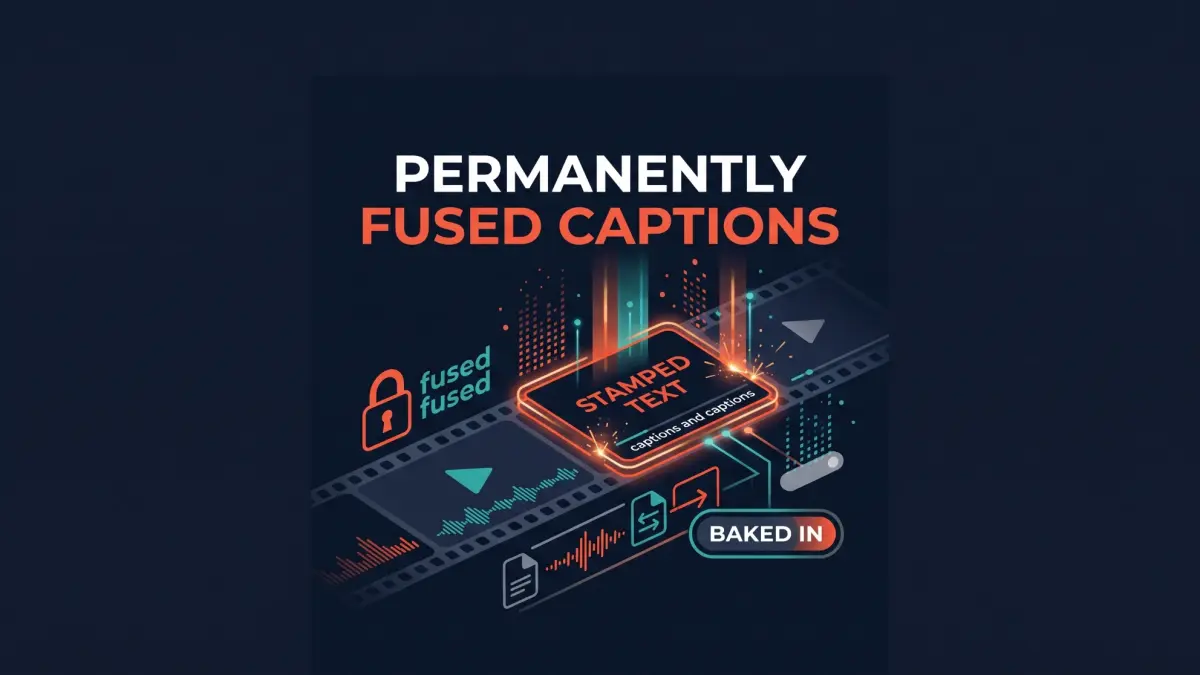

The biggest mistake streamers make when uploading a VOD is relying entirely on the platform's native closed captions (CC). If a viewer watches your video on a mobile app with CC turned off by default, they miss your context instantly.
Adding open captions—where the text is hardcoded directly into the video—solves this problem. It guarantees your audience sees your message whether they are scrolling on YouTube, TikTok, or Instagram.
Quick Answer
To add burned-in captions to live stream VODs, you need to generate a subtitle file (like an SRT) and permanently render it into the video file. You can do this for free using tools like CapCut or HandBrake. This ensures the text stays visible regardless of the platform or the viewer's device settings.
Key Takeaways
- Burned-in captions are permanent and cannot be turned off.
- You need an accurate SRT file before rendering.
- Free editors like CapCut handle hardcoding easily.
- Always double-check frame rates to prevent sync drift.
Key Details
| Goal | Add permanent text to stream VODs |
|---|---|
| Time Needed | 15–30 minutes per hour of video |
| Difficulty | Beginner |
| Tools Needed | CapCut, HandBrake, or Premiere Pro |
| Cost | Free options available |
| Expected Result | A video file with unremovable subtitles |
What You Will Need Before Starting
Before you begin editing, gather your materials. You do not need expensive software to complete this task.
- Your raw video file downloaded from Twitch or YouTube.
- A subtitle generator (CapCut's auto-captions or a third-party AI transcriber).
- A video rendering tool to bake the text in.
Step 1: Downloading or Locating Your VOD
Start by grabbing the highest quality file available. If you streamed natively on YouTube, download the 1080p MP4 file from your YouTube Studio dashboard.
If you used OBS Studio, locate the local recording on your hard drive. Using the local recording is always better because it avoids the compression artifacts caused by downloading a stream directly from a server.
Step 2: Generating the Subtitle File (SRT)
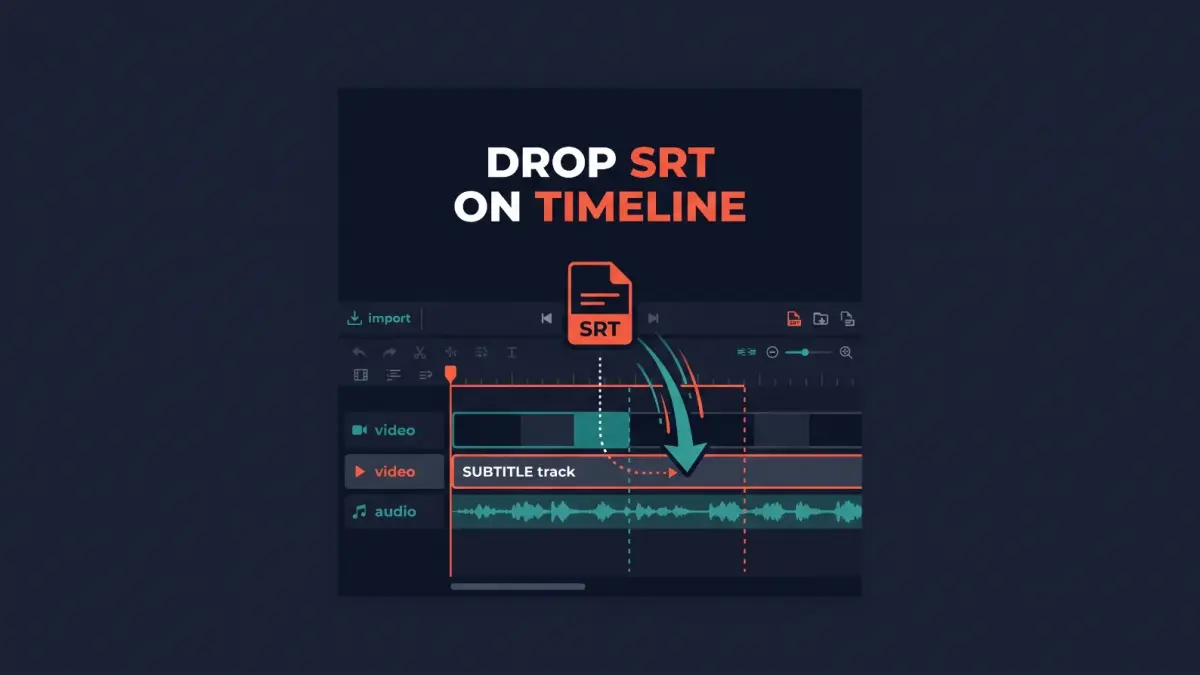
You cannot hardcode text if you do not have a text file to work with. If your VOD is under two hours, dropping it into CapCut Desktop is the fastest route.
Use the auto-caption feature to transcribe the entire video. Once the text generates, you can either style it directly within the app or export the script as an SRT file for use
in another program.
If you have a massive four-hour VOD, using a dedicated AI transcription web tool might process the audio faster than a desktop editor.
Step 3: Hardcoding the Captions into the Video
Open your video editor and place the SRT file over your video track. Adjust the font, size, and background opacity so the text stands out clearly against moving gameplay or complex backgrounds.
Since these captions will be permanent, make sure they sit in a safe zone. Do not place them at the very bottom edge, or the YouTube timeline bar will cover them.
Pro Tip: Apply a slight black drop shadow or a semi-transparent black background box to your text. This ensures the captions remain readable even if the video transitions to a bright white screen.
Finally, hit export. The rendering process will permanently fuse the text pixels with the video pixels.
Common Syncing Mistakes to Avoid
A frame rate mismatch causes subtitles to drift out of sync over a long VOD. Always ensure your editing sequence matches the exact frame rate of your original stream (usually 30fps or 60fps).
If you recorded your stream using a variable frame rate (VFR), the audio and video might slowly separate over time. Run your raw file through HandBrake to convert it to a constant frame rate before you start adding text.
What to Do Next
Play back your newly exported file and skip to the middle and the end of the video. Check if the text matches the audio perfectly in the later segments.
If everything aligns, your VOD is ready to upload.
Frequently Asked Questions
What is the difference between closed captions and burned-in captions?
Can I hardcode captions for free?
Why are my hardcoded subtitles drifting out of sync?
How We Researched This & Why Trust Us: We reviewed standard video encoding principles regarding variable frame rates and tested the captioning workflow in accessible tools like CapCut and HandBrake to ensure these steps work for everyday creators without requiring expensive software.
Comments (0)
No comments yet. Be the first!
Leave a Comment